AI Summary
Crossing the wake represents the pivotal skill that advances beginner wakeboarders toward carving, jumps, grabs, and spins. Riders are ready once they can ride flat water for 30 seconds at 15-18 mph while holding the handle at hip height and looking ahead at the boat. Success depends on proper technique rather than strength: maintaining a shoulder-width stance with knees bent 20-25 degrees, building a controlled heelside edge from the feet up, and approaching the wake at a 45-degree angle like a ramp instead of a wall. Holding the edge through the crest, absorbing landings with bent knees, and repeating crossings 10-15 times before adding speed builds consistency. Original Crab Island shares this guidance from daily on-water experience in Destin.
You’ve got the basics down, standing up, staying balanced, riding in a straight line behind the boat. Now comes the part that separates true beginners from progressing riders: learning how to cross the wake on a wakeboard. It’s the single skill that opens the door to everything else in wakeboarding, from carving turns to catching air.
The thing is, most people make it harder than it needs to be. They fight the wake instead of working with it, and they end up catching an edge or faceplanting at the worst possible moment. With the right technique, proper edging, correct body position, and a steady approach, crossing the wake becomes second nature faster than you’d expect. It’s more about trust and timing than raw strength.
Here at Original Crab Island, we put people on the water in Destin every single day. From pontoon rentals at Crab Island to jet skis along the Emerald Coast, we know what it takes to have a great day on the water. That hands-on experience is exactly what shaped this guide. Below, we’ll walk you through every step of crossing the wake, from your first edging drills to landing clean on the other side, so you can spend less time wiping out and more time riding.
What wake crossing is and when to learn it
Wake crossing is the act of riding your wakeboard from one side of the boat’s wake to the other, cutting across the two ridges of water the boat pushes up as it moves forward. The wake forms two walls of water, one on your heelside and one on your toeside, and every advanced wakeboarding move, including jumps, grabs, and spins, starts with crossing those walls with control. Until you can do that consistently, everything else in the sport stalls out.
The right moment to start crossing
Most riders are ready to try wake crossing after they can ride comfortably in a straight line for at least 30 seconds without losing balance. You don’t need perfect form, but you do need a baseline of body control before attempting it. Here are the key signs you’re ready:
- You can stay upright on flat water at 15 to 18 mph without overcorrecting
- You hold the handle at hip height without pulling it toward your chest
- You can look ahead at the boat instead of staring down at your board
- You feel stable enough to shift your weight intentionally from heel to toe
Once you can ride flat water without gripping the handle like your life depends on it, you’re ready to start learning how to cross the wake on a wakeboard.
What the wake actually feels like
When you hit the wake for the first time, the impact is sharper than it looks from inside the boat. The two ridges push back against your board and can throw you off balance if you’re not prepared for it. Understanding what’s coming helps you react correctly instead of freezing up.
The key is recognizing that the wake isn’t a wall; it’s a ramp. Lean into it with a controlled edge rather than bracing against it, and the transition from one side to the other feels smooth instead of jarring.
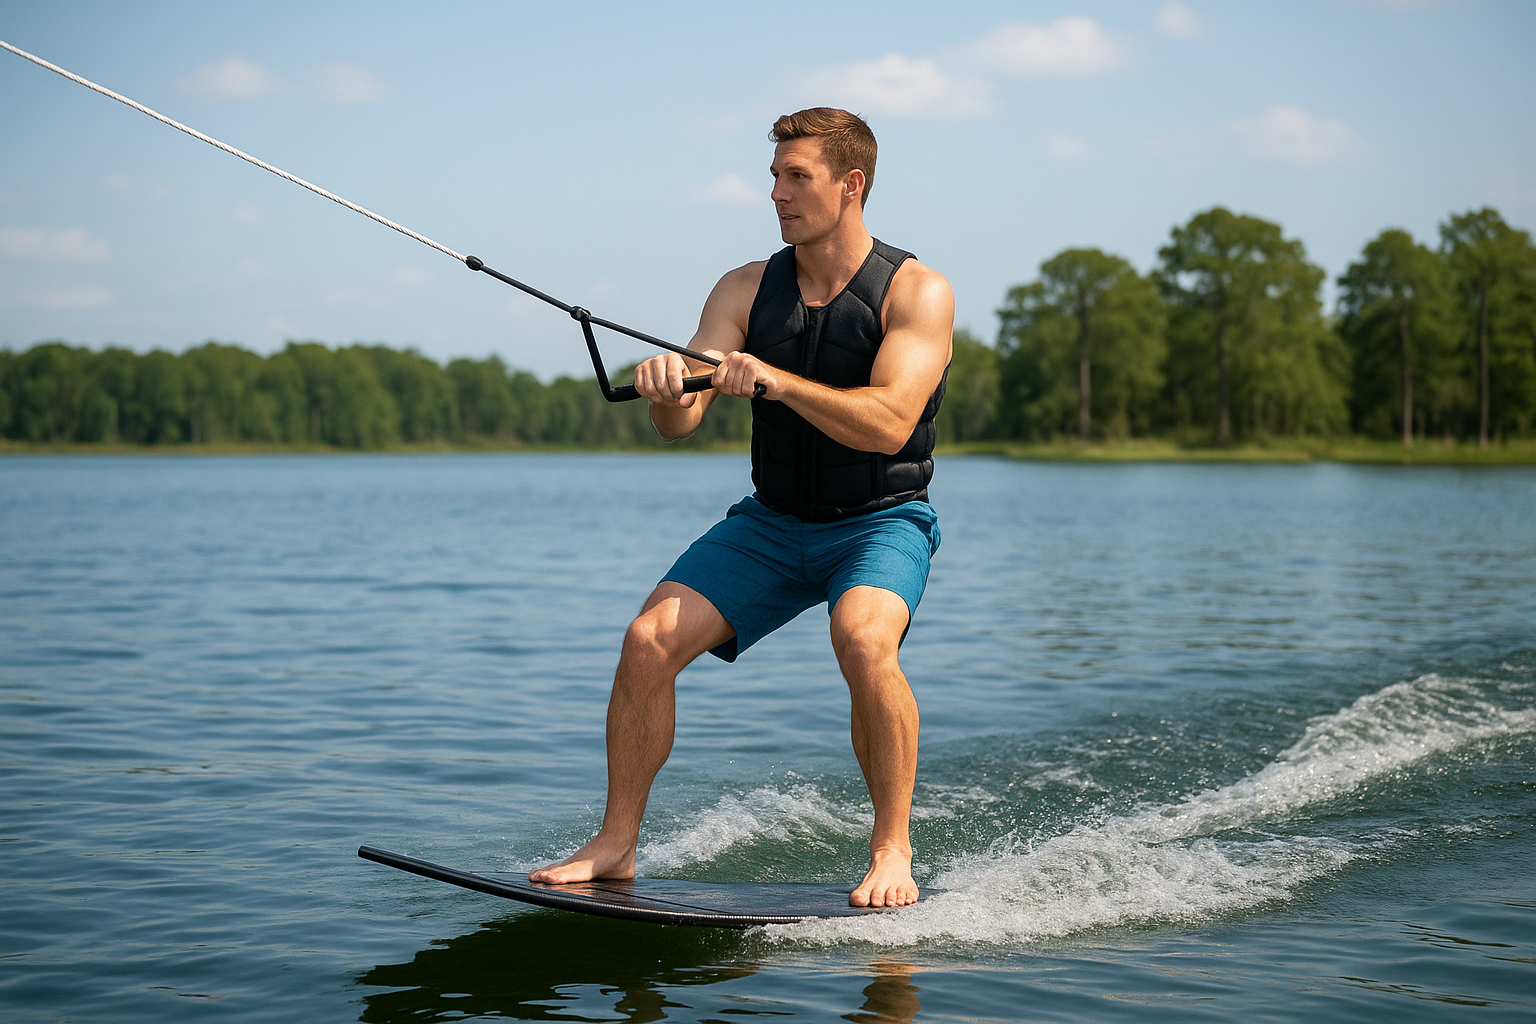
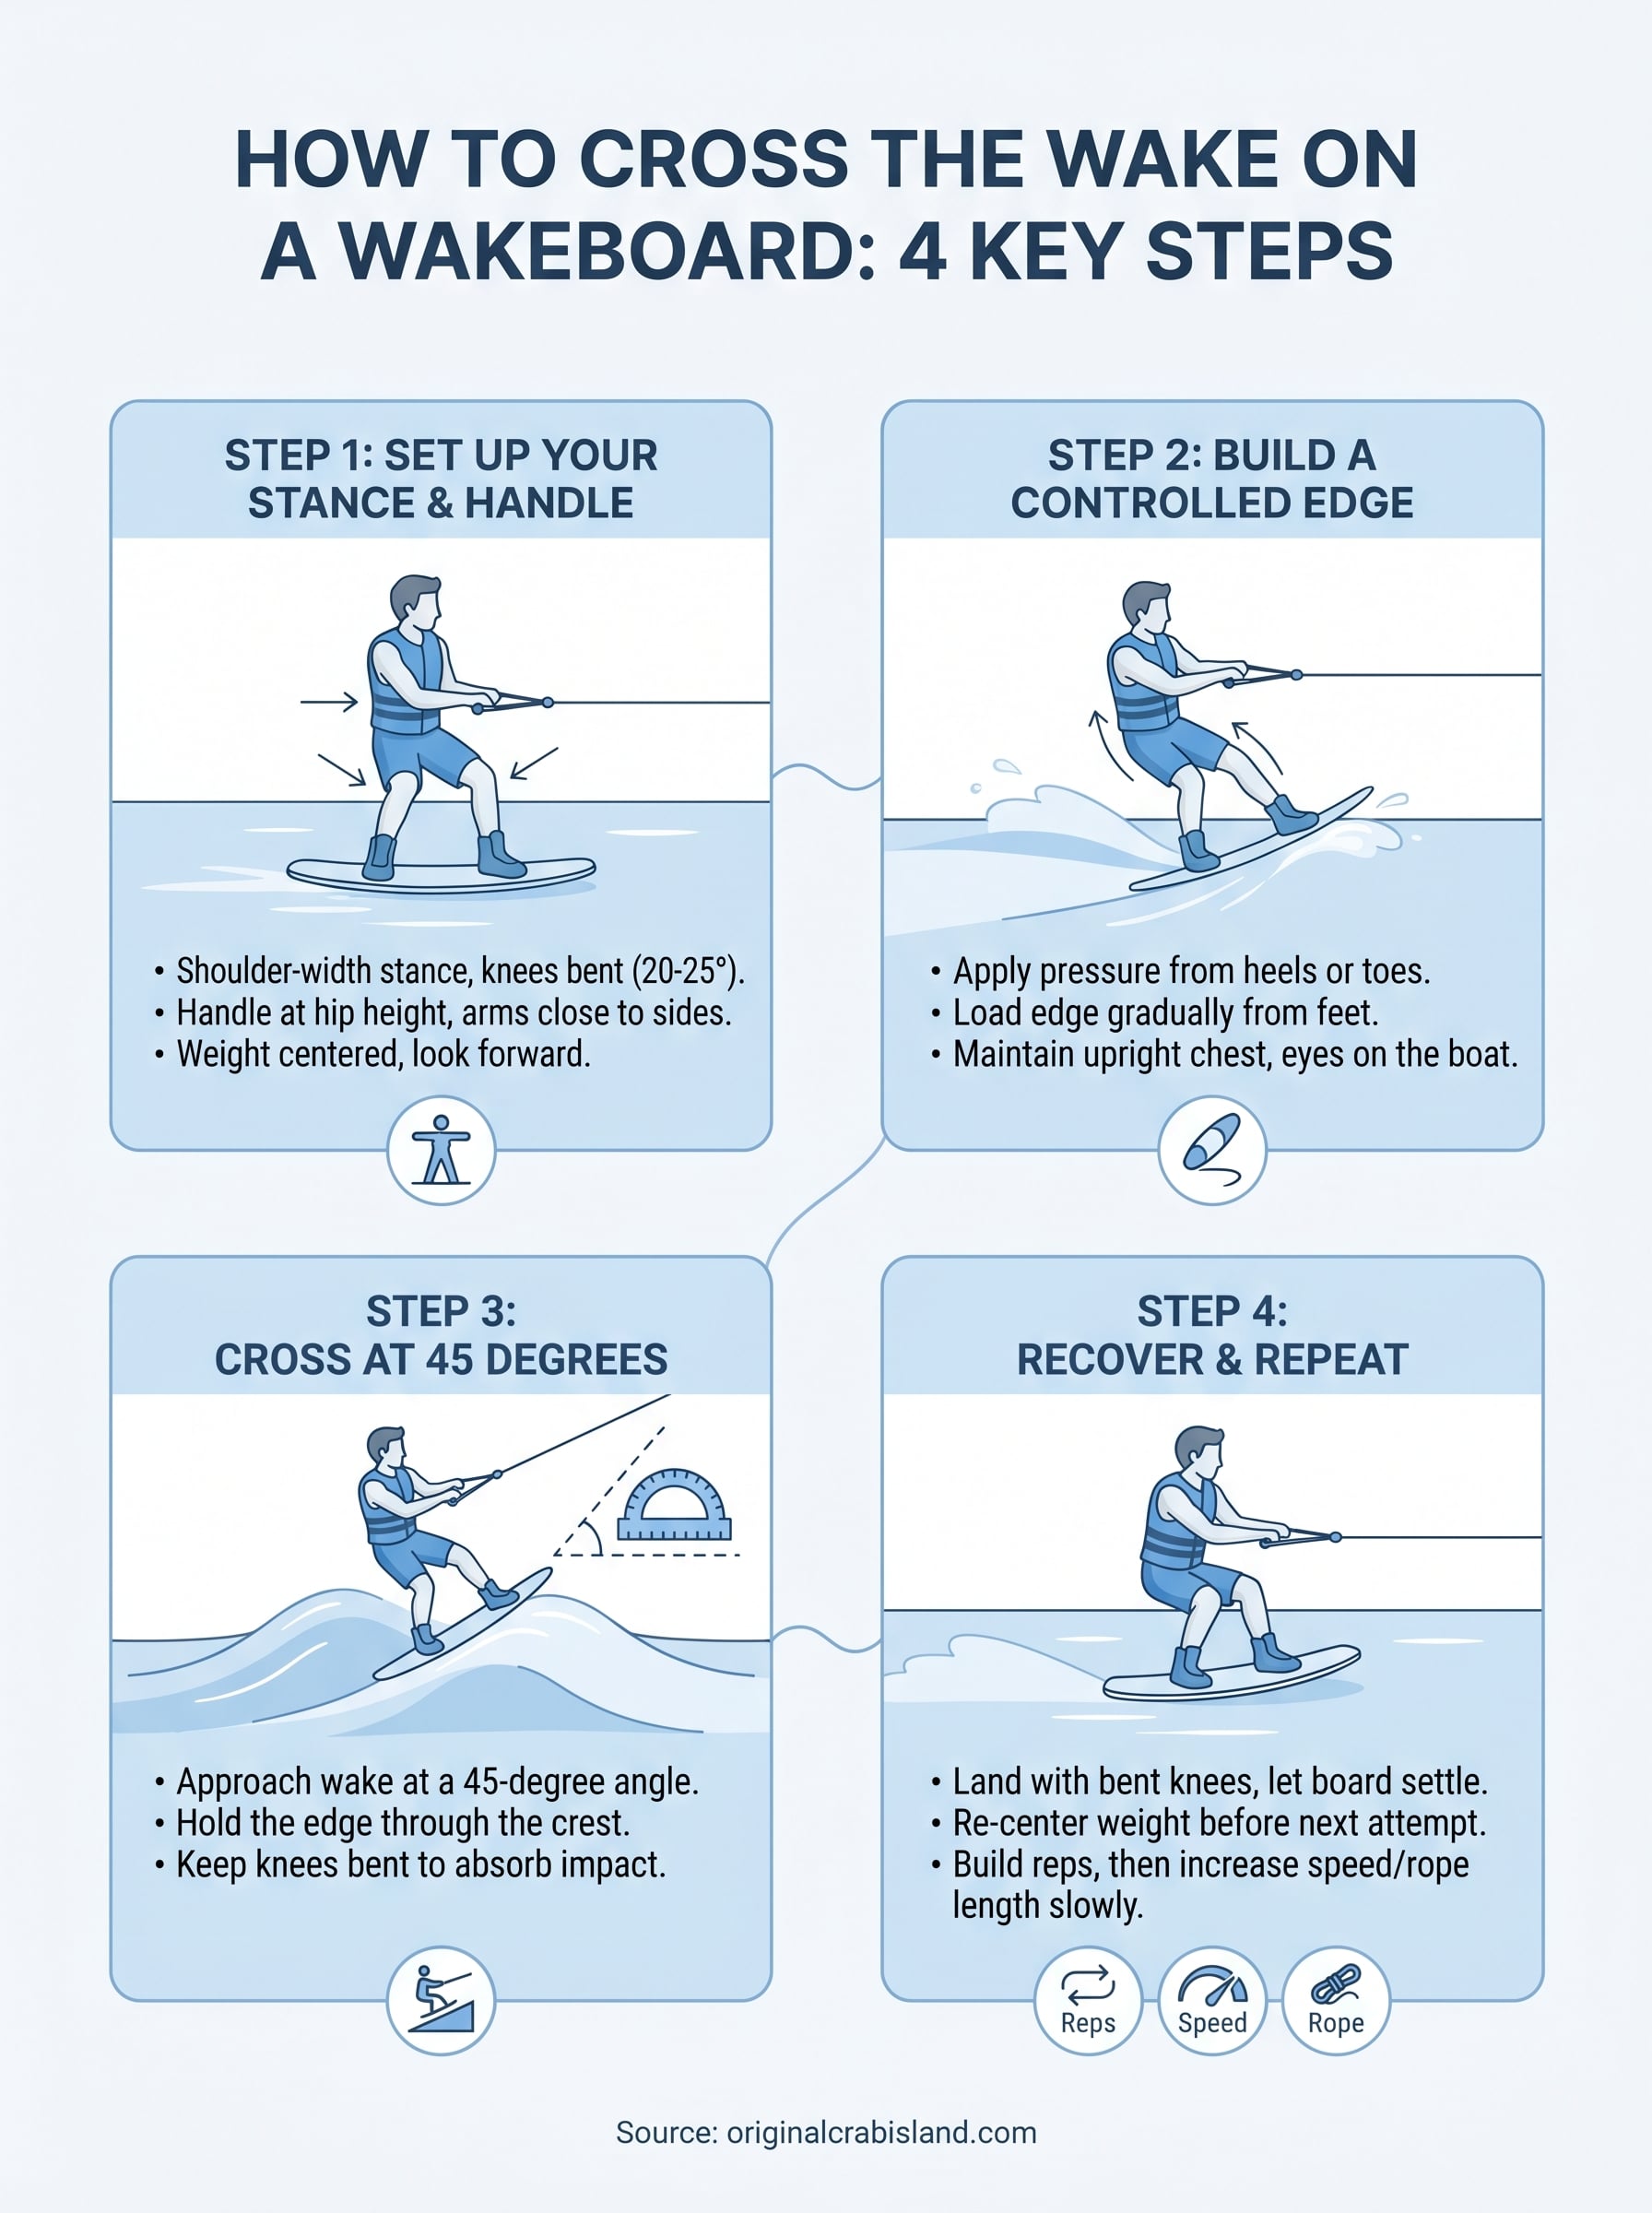
Step 1. Set up your stance and handle position
Before you even think about how to cross the wake on a wakeboard, your body needs to be in the right position. Shoulder-width stance is your starting point: feet roughly even with your shoulders and knees bent at about 20 to 25 degrees. Keep your weight centered over both feet, not tilted too far forward or back. Locking your knees straight removes the shock absorption you need when the wake pushes up against your board, and it tends to throw beginners off balance immediately.
Find your handle height
Your handle position directly affects your balance during the approach. Hold the rope at hip height, with your arms close to your sides and elbows slightly bent. Pulling the handle toward your chest tightens your shoulders, kills your balance, and makes the crossing harder than it needs to be.
Keeping the handle at hip level gives your core something stable to brace against when the wake pushes back.
Rope length also matters more than most beginners expect. Start with a shorter rope around 55 to 60 feet so the wake is narrower and more manageable. A longer rope widens the gap between the two ridges and adds difficulty before you’ve built the confidence to handle it.
Step 2. Build a controlled edge
Edging is the foundation of how to cross the wake on a wakeboard. You apply pressure through your heels or toes to angle the board and direct it toward the wake. Think of it as carving a line through water rather than steering with your arms. Edging starts from the feet up, traveling through your knees, hips, and core. Pulling the handle sideways with your arms is a common mistake that kills your edge and sends you off balance.
How to load the edge correctly
Start 15 to 20 feet outside the wake on your heelside. Gradually shift your weight onto your back heel while keeping your knees bent and chest upright. The edge should feel like slow, building pressure under your board, not a sharp dig. If you lean your upper body backward instead of pressing through your feet, you’ll lose the edge and skid flat across the water.
The goal is to feel resistance building steadily under your board as you approach, like coiling before a push.
Run through this checklist before committing to the crossing:
- Knees bent, weight shifted toward your back heel
- Handle at hip height, arms close to your sides
- Eyes forward on the boat, not looking down
- Edge pressure building gradually, not forced
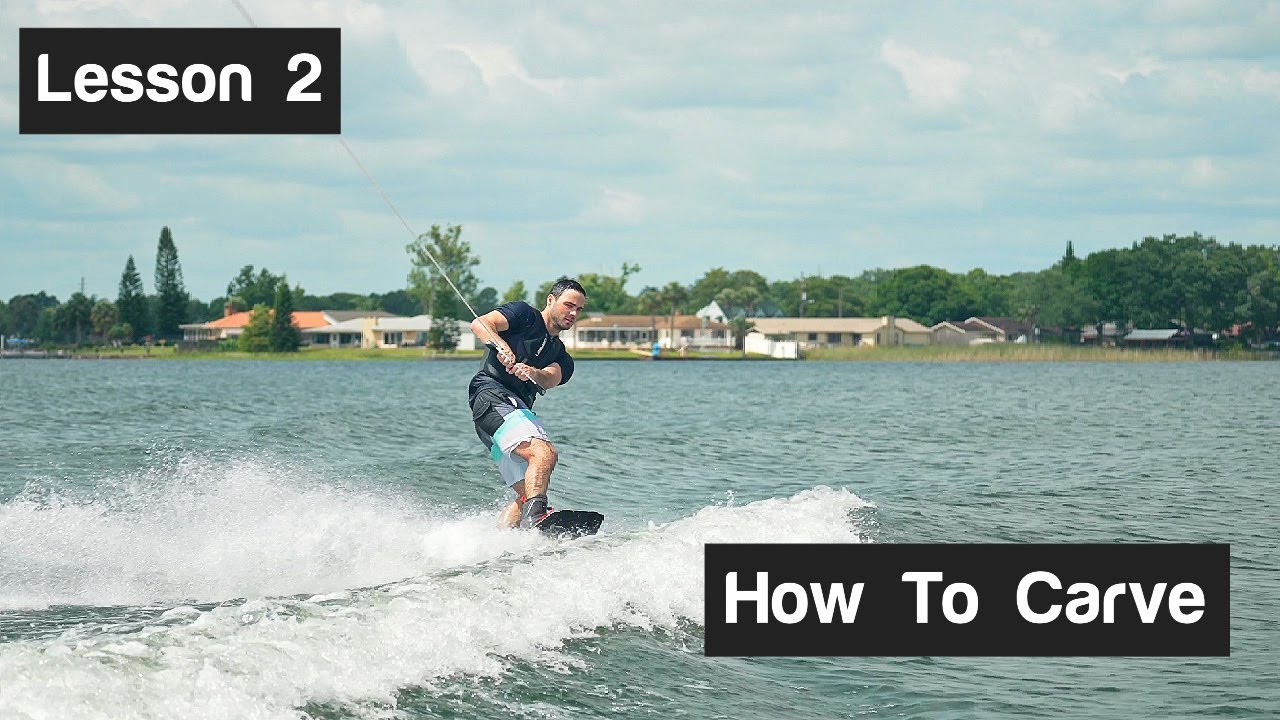
Step 3. Cross the wake smoothly at 45 degrees
The core secret of how to cross the wake on a wakeboard is your approach angle. Crossing straight at 90 degrees hits the wake hard and gives your body no time to adjust. Aim for a 45-degree angle, which lets you ride up and over the wake like a ramp rather than slamming into it flat.
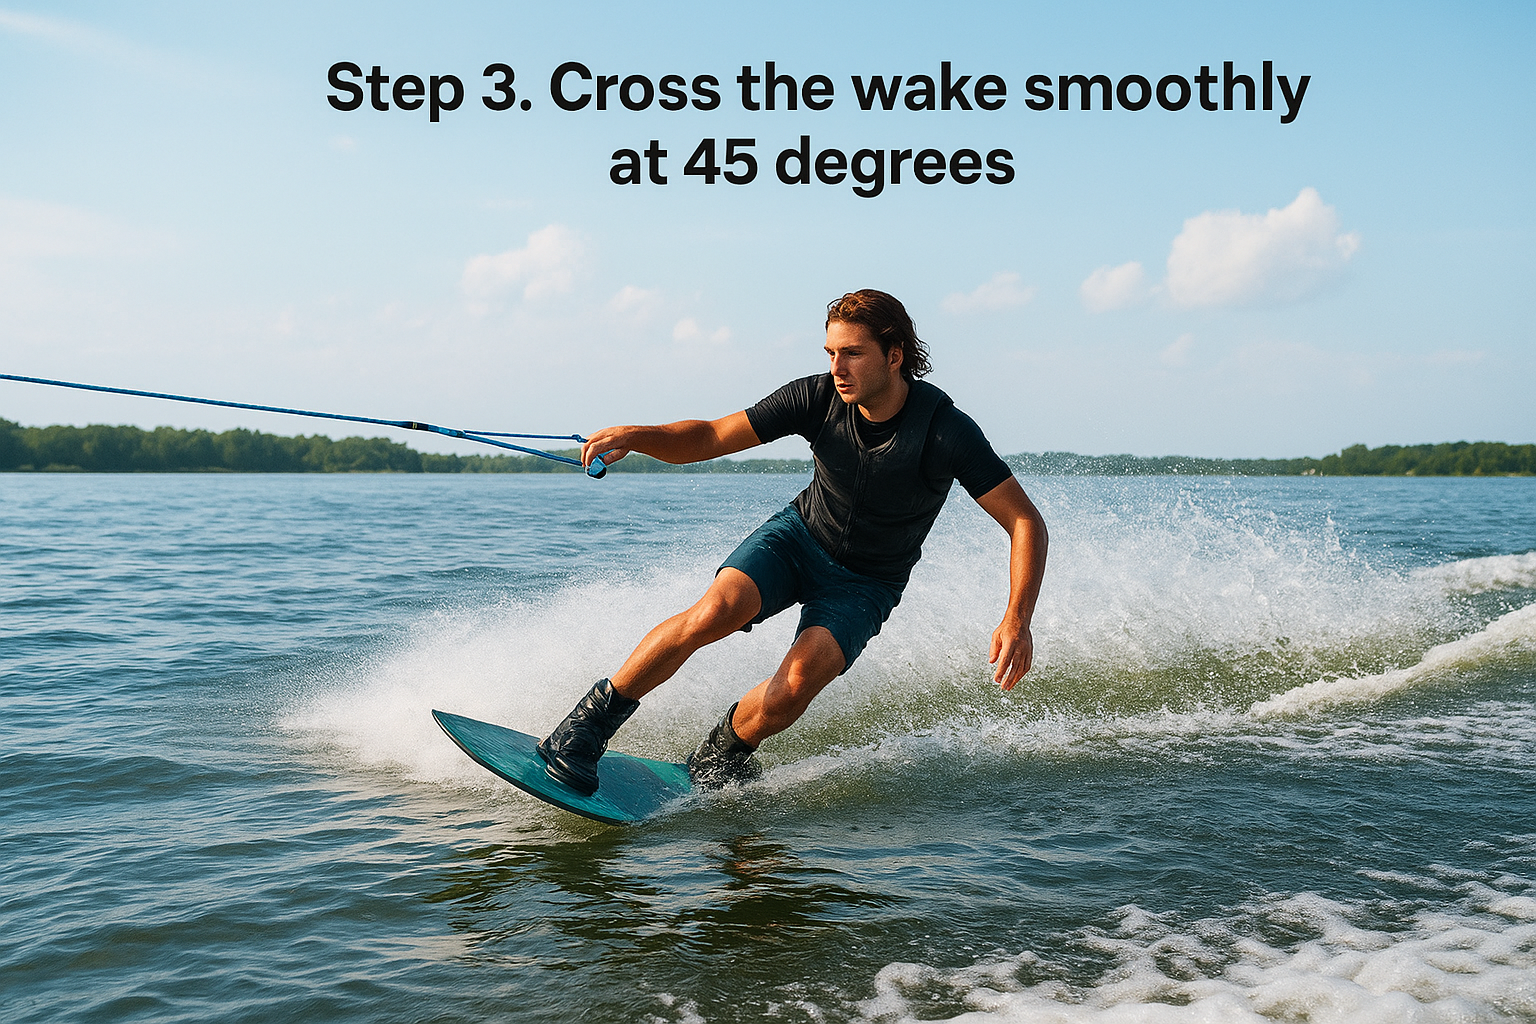
Approach at 45 degrees and the crossing becomes a controlled transition, not a collision.
Hold your edge through the crest
Most beginners release their edge the moment they feel the wake pushing back. Don’t. Hold the edge all the way through the crest and keep your knees bent to absorb the impact. Your board will carry you to the other side if you stay committed and resist the urge to pull the handle up.
- Load your edge 10 feet before the wake
- Keep knees bent as you hit the crest
- Hold the handle at hip height through the entire crossing
Where to look and where to land
Keep your eyes on the boat, not on the wake beneath you. Looking down shifts your weight forward and breaks your edge immediately. As you clear the crest, absorb the landing with bent knees and let the board settle flat before your next approach.
Aim to land in the same spot every rep. Consistent landings confirm your angle and edge pressure are working, and they make each crossing more predictable over time.
Step 4. Recover, repeat, and add speed safely
After you clear the wake, your recovery position sets you up for the next crossing. Land with bent knees and let the board settle flat before redirecting. Give yourself two to three seconds to re-center your weight and balance on flat water before starting your next edge approach. Rushing back while still off-balance is the fastest way to fall.
Build repetitions before adding speed
Consistency beats speed at this stage of learning how to cross the wake on a wakeboard. Run the same crossing 10 to 15 times at a steady pace before asking the driver to go faster. Each rep should feel more automatic than the last. Use this checklist to track your progress:
- Reps 1-5: Focus on edge pressure and landing position
- Reps 6-10: Lock in a consistent 45-degree approach angle
- Reps 11-15: Ask for a 2 mph speed increase, nothing more
Once your crossings feel identical rep after rep, you’re ready to push the boat speed up gradually.
When to extend the rope
Add 5 feet at a time, moving from 55 feet toward 65 or 70 feet. A longer rope gives you more flat water between the wake ridges and room to build a stronger edge before each crossing. Don’t jump rope lengths; each extension changes how the wake feels under your board, so give yourself several runs to adjust before extending again.
Bring it all together
Learning how to cross the wake on a wakeboard comes down to four repeatable steps: set a stable stance, build a controlled edge, approach at 45 degrees, and recover clean before your next rep. None of these require athletic talent. They require patience and deliberate practice, run after run, until each crossing feels automatic. The technique works because every piece connects to the next. Your stance feeds your edge, your edge feeds your angle, and your angle feeds your landing.
Start slow, keep the rope short, and trust the process. Once you can land 10 clean crossings in a row, bump the speed by 2 mph and extend the rope by 5 feet. Progress stacks faster than most beginners expect when you build on a solid foundation.
Ready to put this into practice on the water? Book your session with Original Crab Island in Destin and get out there.
Popular Crab Island Pages
- Crab Island Pontoon Rentals
- Crab Island Fishing Charters
- Crab Island Boat and Yacht Rentals
- Crab Island Parasailing
- Crab Island Jet Ski Rentals
- Crab Island Helicopter Rides
- Crab Island Snorkeling Tours
- Crab Island Paddleboard Rentals
- Crab Island Kayak Rentals
- Crab Island Bike Rentals
- Crab Island Shark Boat
- Crab Island Pirate Ship
- Crab Island Tiki Rentals
- Crab Island Snorkeling Tours