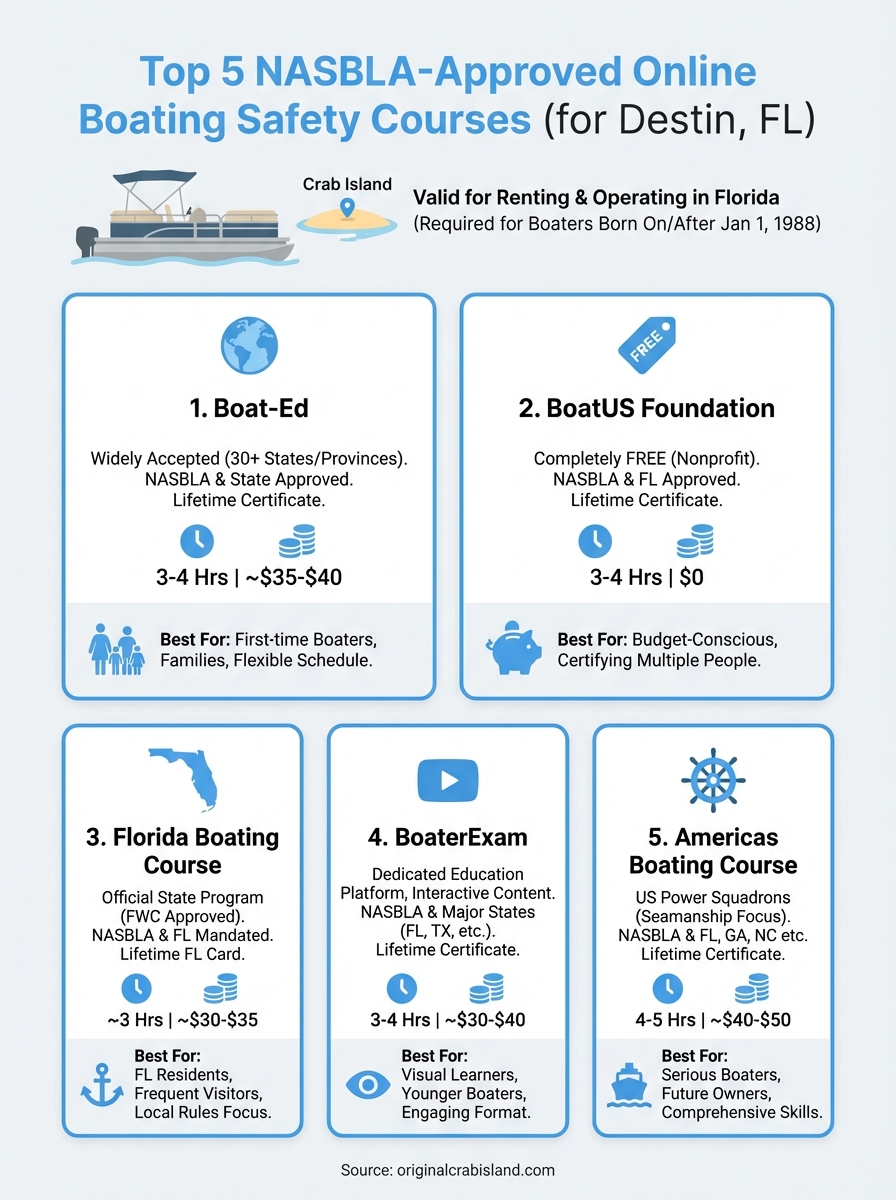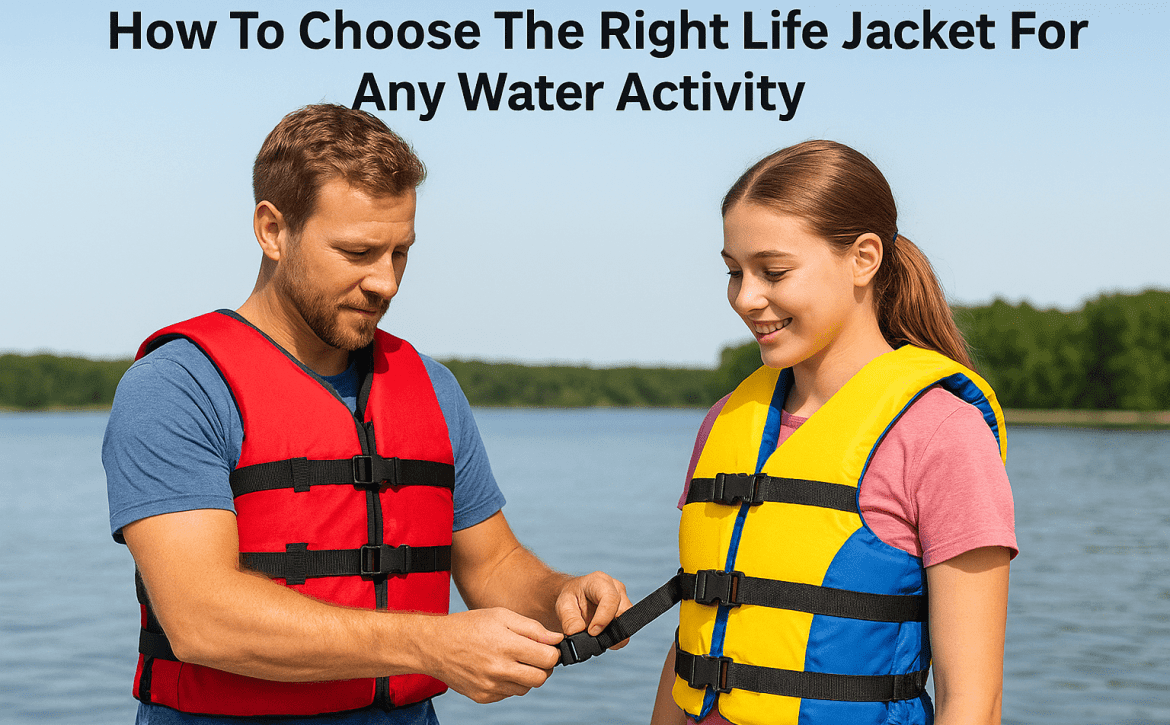
How To Choose The Right Life Jacket For Any Water Activity
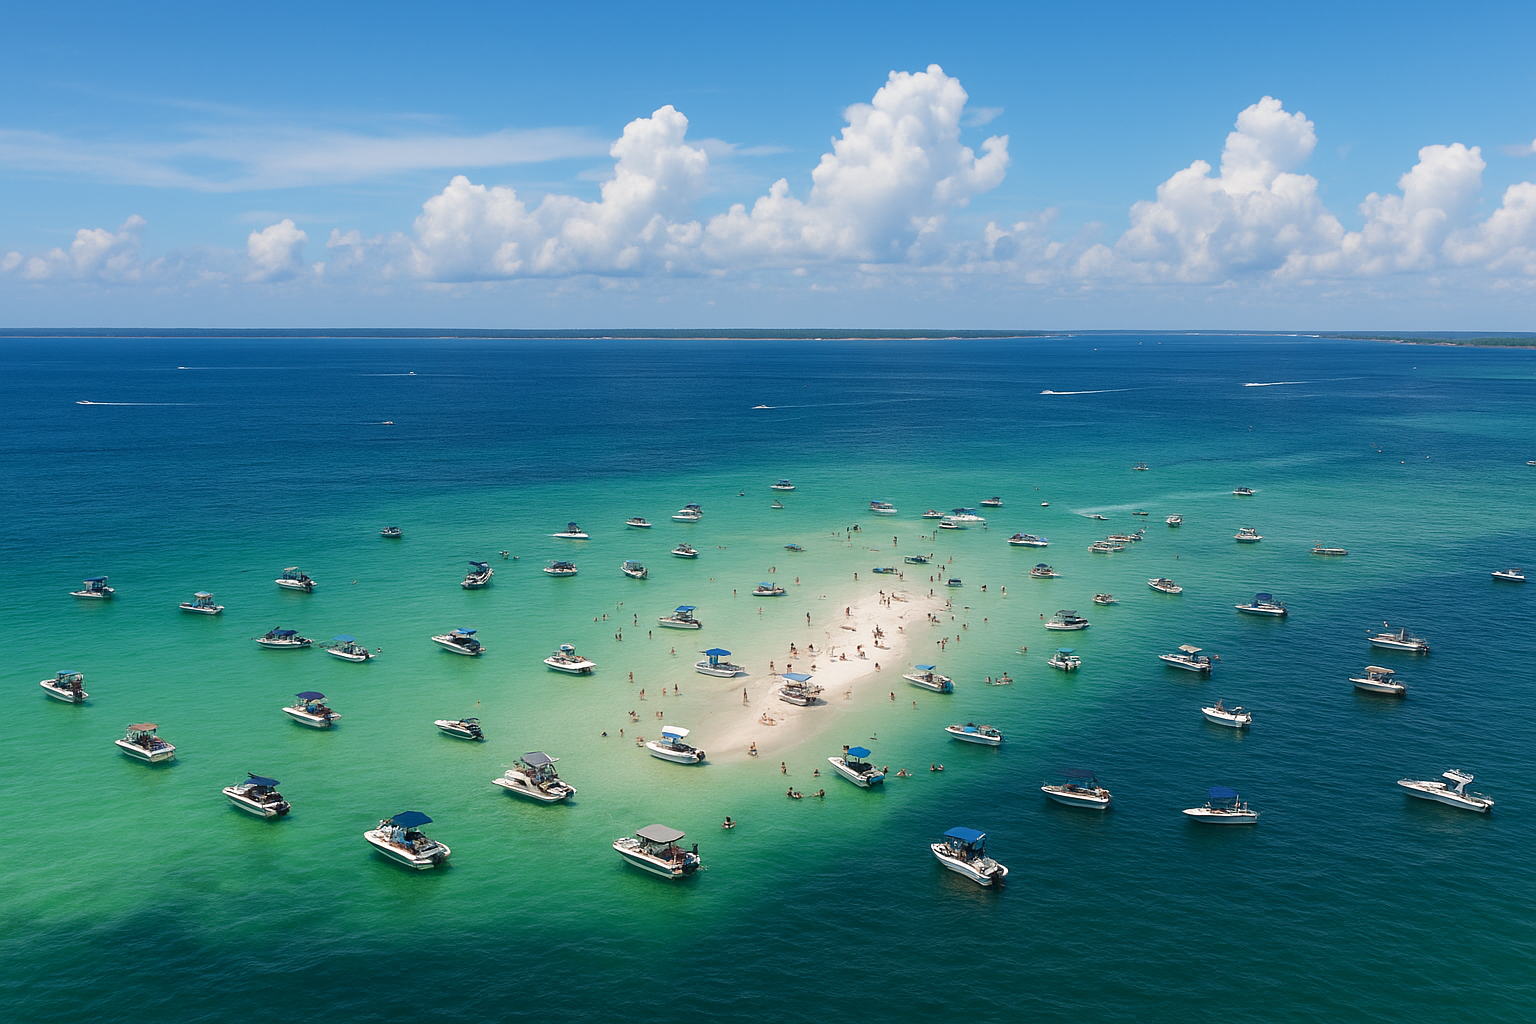
Whether you’re renting a pontoon boat for a Crab Island adventure or taking the kids out on jet skis along the Emerald Coast, one piece of safety equipment matters more than any other: your life jacket. Knowing how to choose the right life jacket isn’t just about checking a box for Coast Guard compliance, it’s about making sure everyone on the water comes home safe. At Original Crab Island, we see thousands of visitors each season, and proper PFD selection remains one of the most overlooked aspects of water safety.
The problem? Life jackets aren’t one-size-fits-all. A vest that works perfectly for kayaking might be completely wrong for wakeboarding. Sizing alone involves multiple factors, chest measurements, weight ranges, and age categories all play a role. Add in the five different USCG classifications, and it’s easy to see why so many people end up with ill-fitting or inappropriate flotation devices.
This guide breaks down everything you need to know: from understanding Type I through Type V classifications to testing fit before you hit the water. You’ll learn which life jackets match specific activities, how to size for adults and children correctly, and what features actually matter for comfort and safety. By the end, you’ll be able to confidently select the right PFD for any water adventure, whether you’re fishing offshore or floating at the sandbar.
What the USCG label tells you
Every approved life jacket carries a U.S. Coast Guard label that tells you exactly what the device does and who should wear it. You’ll find this label inside the jacket, typically sewn into the lining or printed on a permanent tag. The label includes critical safety information about buoyancy ratings, approved activities, weight limits, and the PFD’s official Type classification. Reading this label is the first step in learning how to choose the right life jacket, and ignoring it could put you in serious danger.
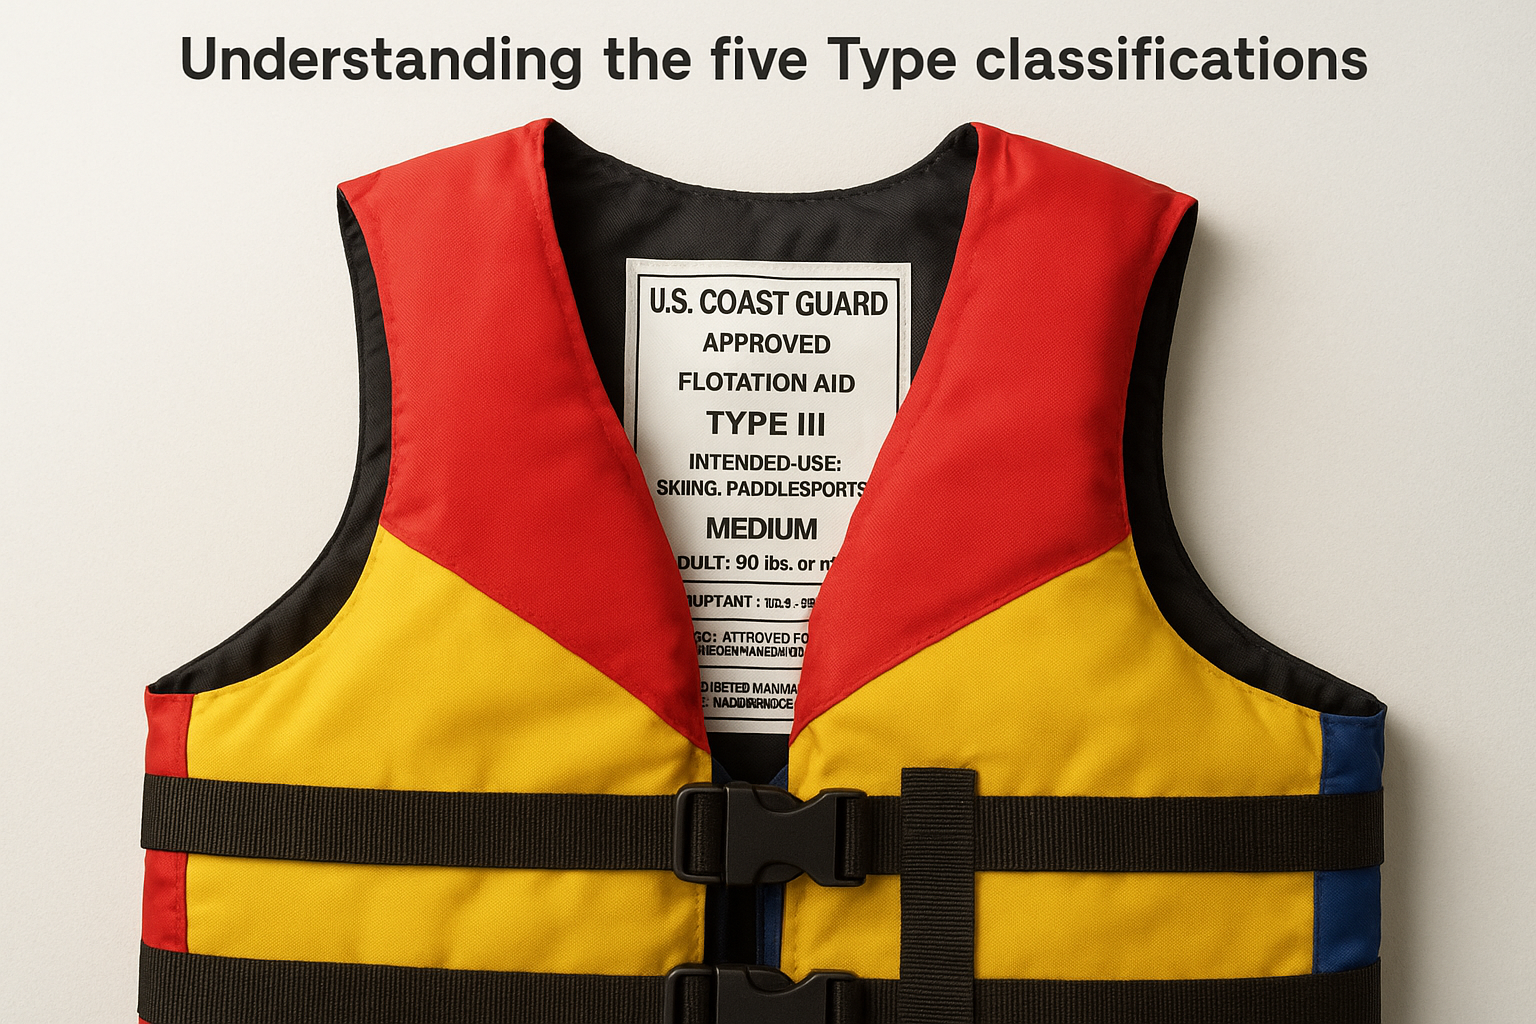
Understanding the five Type classifications
The USCG sorts life jackets into five categories based on buoyancy and intended use. Type I offshore jackets provide the most flotation (22 pounds minimum) and work in rough, open water where rescue may take hours. They’re bulky but designed to turn most unconscious wearers face-up. Type II near-shore vests offer 15.5 pounds of buoyancy for calmer inland waters where help arrives quickly. Type III flotation aids match Type II buoyancy but prioritize comfort and mobility, they’re the most popular choice for recreational boating, skiing, and paddling.
Type IV throwable devices (cushions, rings) provide 16.5 pounds of buoyancy and serve as emergency equipment you toss to someone in distress, not something you wear. Finally, Type V special-use PFDs include hybrids, inflatables, and activity-specific designs that must be worn according to label instructions to maintain Coast Guard approval.
The Type classification determines where and how you can legally use the life jacket, not just how well it floats.
Key label information beyond the Type
Your label also specifies exact weight ranges that determine proper fit. A jacket rated for 90+ pounds won’t provide adequate buoyancy for a 60-pound child, even if the straps cinch tight. Look for the "Approved for" section that lists activities like waterskiing, kayaking, or general boating. Some PFDs carry restrictions, inflatables under 16 years old, no unconscious wearers, no non-swimmers. The label shows whether your jacket uses inherently buoyant foam or relies on inflation, which affects how you inspect and maintain it. Check the approval number (starts with 160) to verify the jacket meets current standards and hasn’t been recalled.
Step 1. Match the jacket to your activity
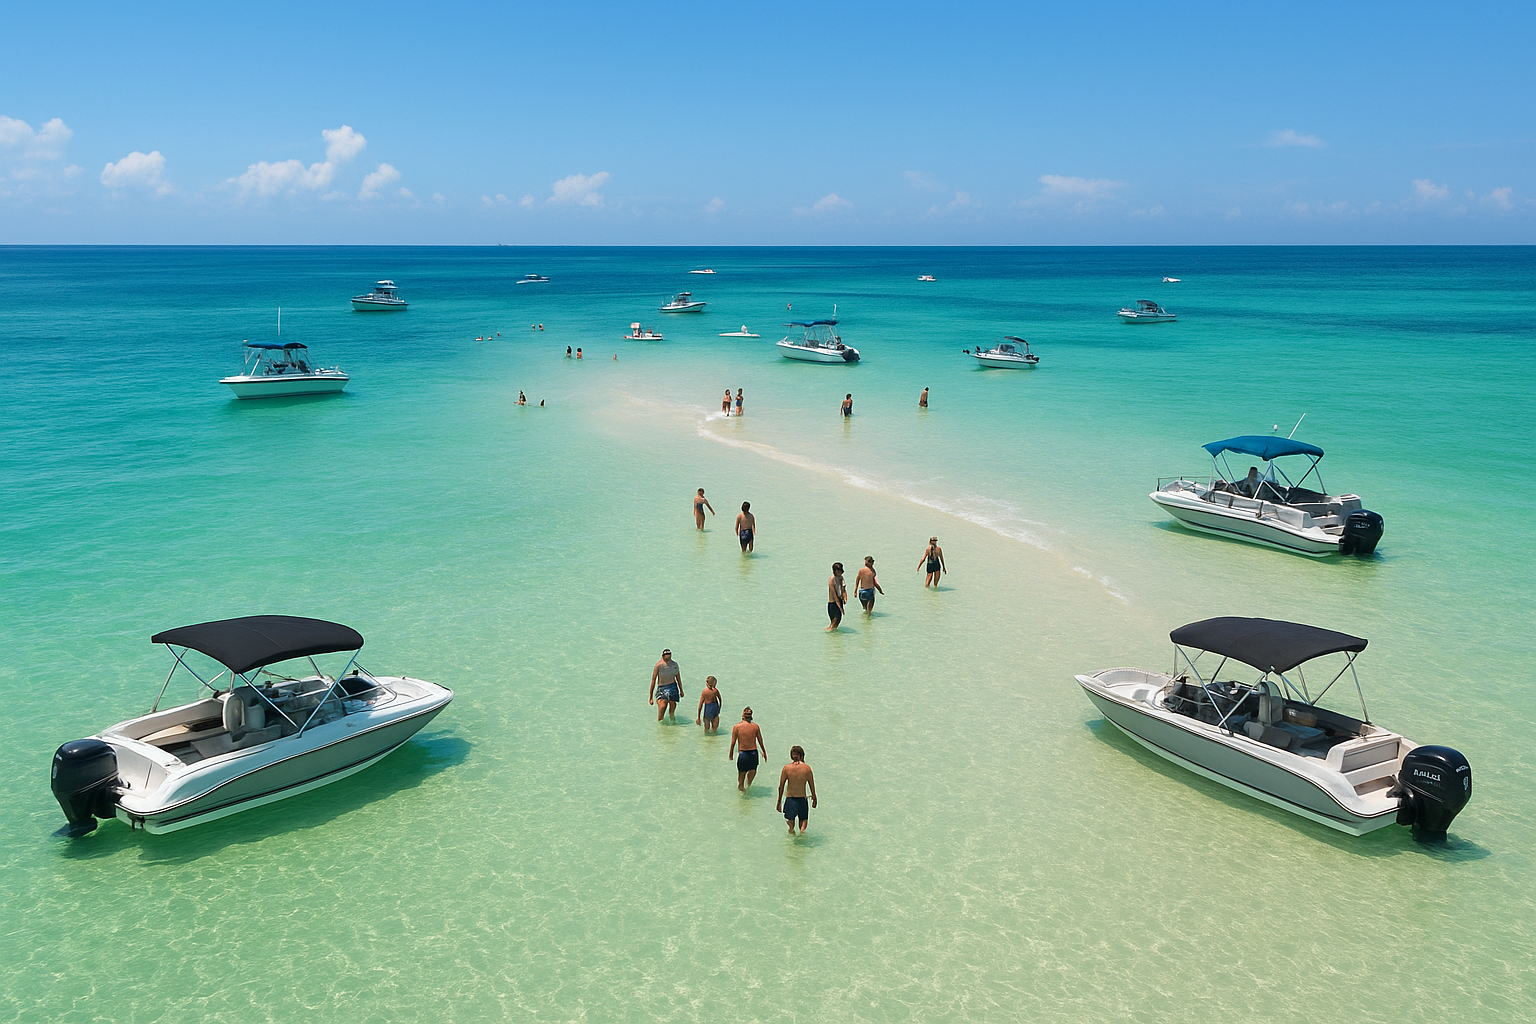
Your activity determines which Type of life jacket keeps you safe. Type III flotation aids dominate recreational boating because they balance buoyancy with freedom of movement, but they’re not ideal for every situation. Learning how to choose the right life jacket starts with understanding what you’ll actually be doing on the water. A jacket that works for leisurely pontoon cruises around Crab Island might fail completely during wakeboarding wipeouts or offshore fishing in choppy seas.
Calm water activities need comfort and mobility
For pontoon boat trips, kayaking, paddleboarding, and casual swimming at the sandbar, Type III vests give you the best combination of safety and comfort. These jackets allow full arm rotation for paddling and won’t chafe during extended wear. Look for short-cut designs that sit above your waist so you can sit comfortably without the jacket riding up. Mesh panels and multiple adjustment straps help with ventilation and fit. Type II near-shore vests work too, but most people find them bulkier than necessary for protected waters.
High-speed and impact sports require impact-rated protection
Waterskiing, wakeboarding, tubing, and jet skiing demand Coast Guard-approved vests specifically rated for impact protection. Standard foam jackets won’t protect your ribs during a 30-mph wipeout. You need segmented foam panels that flex with your body while absorbing shock. These vests typically feature shorter torsos, wider armholes, and secure buckle systems that won’t tear loose on impact.
Impact-rated vests prevent serious injuries during high-speed water sports, not just keep you afloat.
Type V special-use PFDs designed for performance sports often outperform standard Type IIIs in these situations.
Step 2. Pick foam, inflatable, or hybrid
Understanding construction types is crucial when you’re figuring out how to choose the right life jacket. The three main options each offer distinct advantages and limitations based on your needs. Foam jackets use closed-cell foam for permanent buoyancy, inflatable PFDs rely on CO2 cartridges that activate manually or automatically, and hybrid designs combine both technologies for backup protection. Your choice affects comfort, maintenance requirements, and who can safely wear the device.
Foam jackets for reliability and low maintenance
Inherently buoyant foam jackets work immediately without any activation steps, making them ideal for children, non-swimmers, and anyone who might panic in the water. You never worry about cartridge replacement or inflation failure because the buoyancy stays constant. These jackets require minimal maintenance beyond checking for tears and ensuring straps function properly. The tradeoff? Foam PFDs feel bulkier and hotter during extended wear, especially in summer heat. They take up more storage space on boats with limited cabin room.
Inflatable PFDs for comfort and storage
Manual and automatic inflatables pack down to belt or suspender sizes until you need them, then inflate to full buoyancy in seconds. Adults find them far more comfortable for all-day wear during fishing trips or long cruises. However, inflatables require regular inspection of CO2 cartridges, firing mechanisms, and bladder integrity. You must replace cartridges after each inflation, and the devices cost significantly more upfront than foam alternatives.
Inflatable PFDs are not Coast Guard approved for anyone under 16 years old or for high-impact water sports.
Hybrid designs that combine both
Hybrid life jackets provide 7-10 pounds of foam buoyancy plus an inflatable chamber for additional flotation when activated. This design gives you immediate flotation if the inflation system fails while maintaining better comfort than traditional foam-only jackets. Hybrids work well for offshore fishing and situations where you want redundant safety systems.
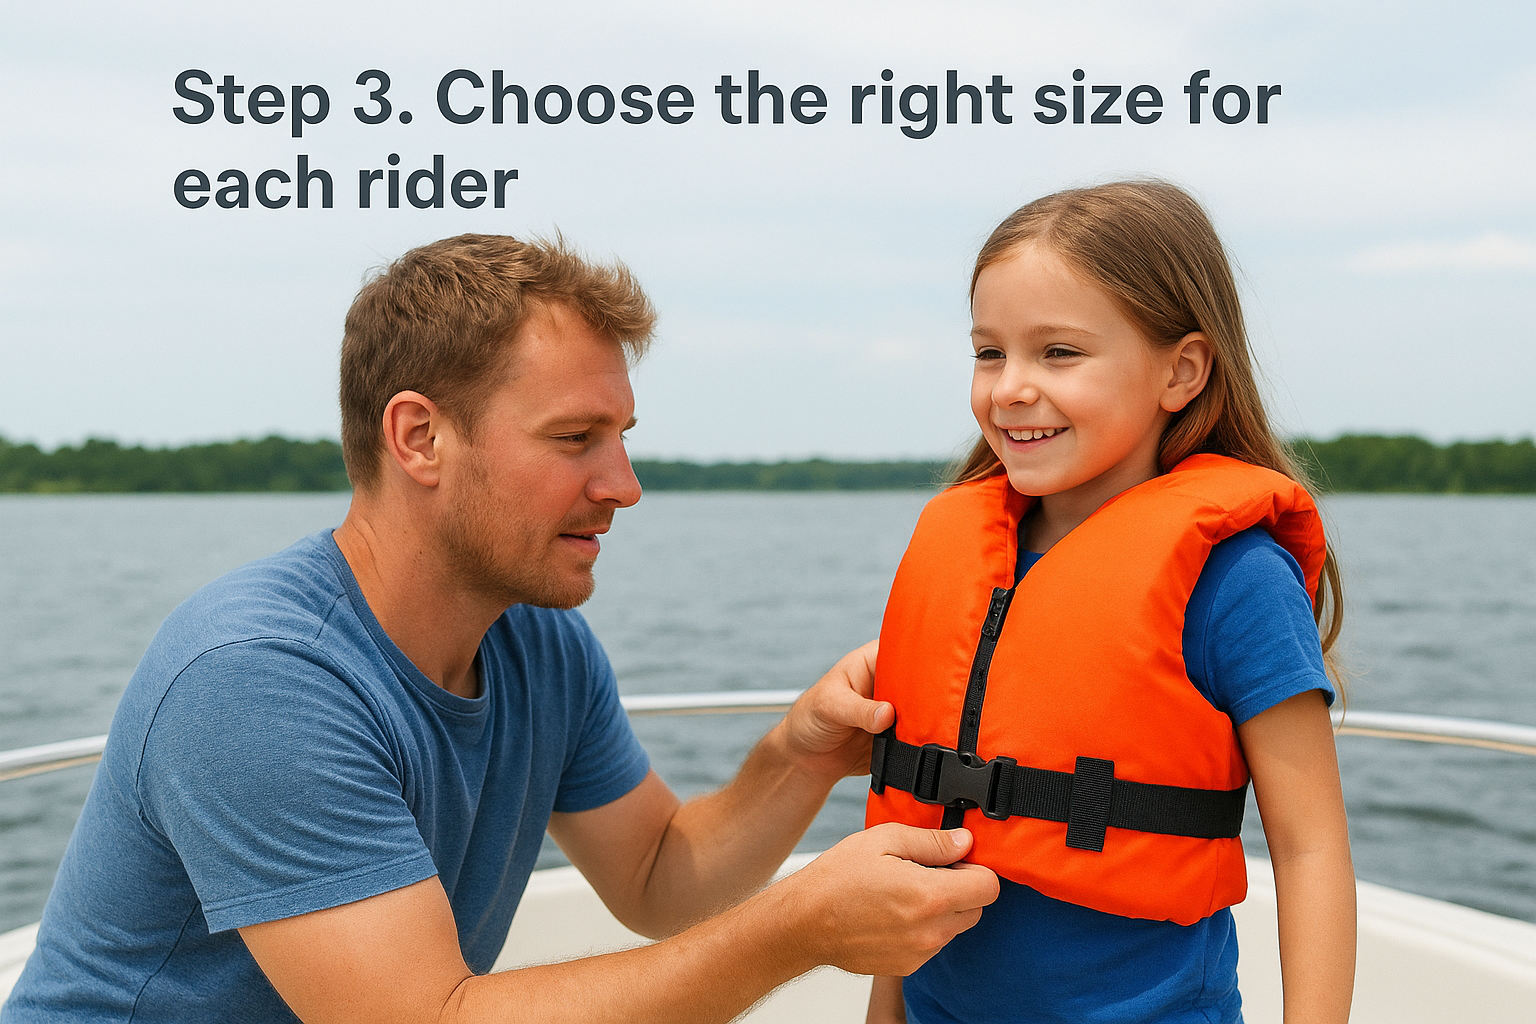
Step 3. Choose the right size for each rider
Size matters more than any other factor when learning how to choose the right life jacket. A jacket that fits properly keeps your head above water during emergencies, while an oversized vest can slip off completely or ride up over your face. Weight determines the primary size category, but you also need to verify chest measurements to ensure proper strap adjustment and coverage. Every person on your boat needs their own correctly sized PFD, borrowing an adult jacket for a teenager or child creates a dangerous situation that no amount of strap tightening can fix.
Read weight ranges first, then check chest size
Start with the manufacturer’s weight rating printed on the label. Most adult jackets begin at 90 pounds and go up in 30-pound increments (90+, 90-150, 150+). Youth sizes typically cover 50-90 pounds, while child sizes handle 30-50 pounds. After selecting the weight category, measure chest circumference at the widest point to confirm the jacket’s adjustable straps can cinch properly without gaps. A 140-pound adult with a 42-inch chest needs a different cut than someone the same weight with a 36-inch chest.
Chest size determines comfort and strap effectiveness, but weight determines whether the jacket provides adequate buoyancy.
Infant and child sizing requires extra attention
Infants under 30 pounds need Type II jackets with head support collars that keep their faces clear of water. Look for crotch straps on all children’s PFDs to prevent the jacket from sliding off during swimming or panic situations. Test the arm openings, your child shouldn’t be able to slip their arms back inside the jacket while wearing it. Replace children’s life jackets every season as they grow, since outgrowing the weight rating eliminates Coast Guard approval even if the straps still fit.
Step 4. Do a fit test and basic upkeep
Knowing how to choose the right life jacket extends beyond picking the correct size off the shelf. You need to test the fit in actual conditions before anyone steps onto your boat. A proper fit test simulates what happens when someone enters the water, revealing whether the jacket provides adequate support or creates dangerous gaps. Beyond the initial fitting, your life jackets require regular inspection and basic maintenance to maintain Coast Guard approval and ensure reliability during emergencies.
Perform the lift test before every trip
Put the life jacket on and fasten all straps snugly but comfortably. Have someone grasp the shoulder straps and lift upward firmly while you relax your body. The jacket should stay firmly in place with minimal upward movement. If it rides up over your chin or ears, it’s too large regardless of what the weight rating says. Your ears should never slip below the top edge of the jacket during this test. For children, perform the test in shallow water to ensure the jacket keeps their face clear while they’re relaxed or floating on their back.
A life jacket that passes the lift test on land but rides up in water puts you at serious risk during an actual emergency.
Check these items before each season
Inspect all straps, buckles, and zippers for wear, corrosion, or damage. Replace any jacket with torn fabric, missing hardware, or foam that feels compressed or waterlogged. Test inflatable PFDs by checking cartridge weight (replace if below minimum), examining the inflation mechanism for corrosion, and inflating the bladder to verify it holds air overnight. Store jackets in cool, dry locations away from direct sunlight and gasoline fumes, which degrade foam and fabric.
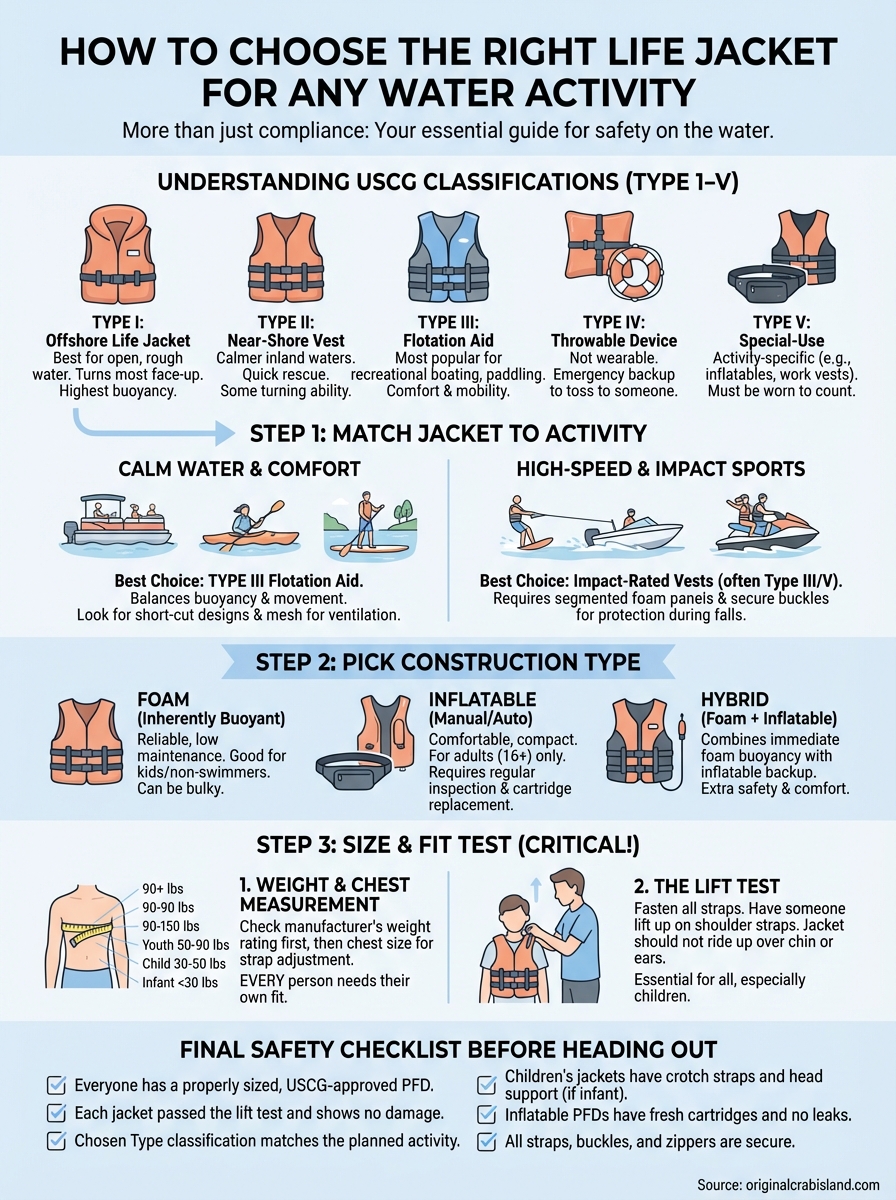
Final safety checklist before you head out
You now understand how to choose the right life jacket based on activity type, construction, size, and fit. Before you leave the dock, run through this final verification checklist to ensure everyone stays safe on the water.
Verify that every person aboard has their own Coast Guard-approved PFD that matches their weight and chest size. Confirm each jacket passed the lift test and shows no signs of damage or wear. Check that your chosen Type classification matches your planned activities, Type III for casual boating and paddling, impact-rated vests for watersports, Type I or II for offshore trips. Make sure children’s jackets include crotch straps and that inflatable PFDs have fresh cartridges installed.
Ready to experience the Emerald Coast with confidence? Book your Crab Island adventure with Original Crab Island, where properly fitted life jackets come standard with every pontoon rental, jet ski excursion, and guided tour. Our staff ensures you have the right safety equipment before you hit the water.